Rig I used for panoramic
Panoramic is one of the most interesting photography in my humble opinion.
It is most suitable for landscape photography which allow to cover from extreme left to the right. Other than being a landscape, it can be turn into a 360 x 180 sphere, which allow you to make it as a virtual reality, commonly used for residential, commercial agents and interior designer firm.
Now, it had evolved to retail stores, operation room, restaurant and many more.
It had been created for people who had not been to the location before, and yet wanted to see the place badly.
There you are, a virtual tour.
Now, before I get into this VT (virtual tour, I named that in short form) there are a lot of rules and standard to follow while taking a shot. (it depend on what rig you are on, you may require more than 6 shots for each panoramic view)
The most common rig that people know is: Nodal Ninja.
When you get into the site, you will be confused and not knowing what to get first.
Unless you know your work well, and wanted to get into Google business, you should be getting the Google setup rig.
If not, just follow what I am using now. Of course, I can answer your question if you require any of those.
Right now, I am only concentrating on the introduction for the rig.
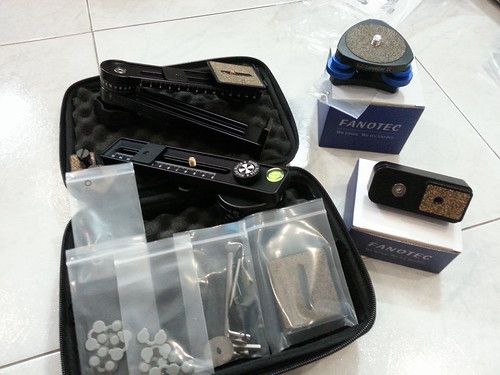
The rig I am using is Nodal Ninja 4, known as NN4, with a RD16 and a EZ-leveler II.

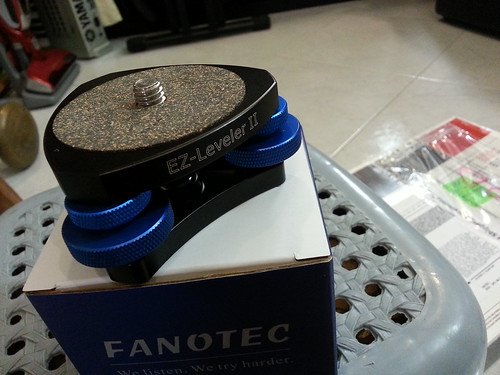
EZ Leveler II
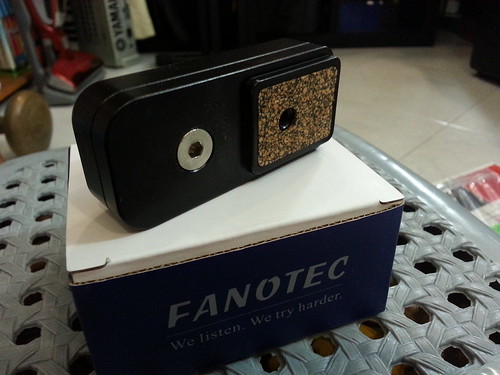
Nadir adapter
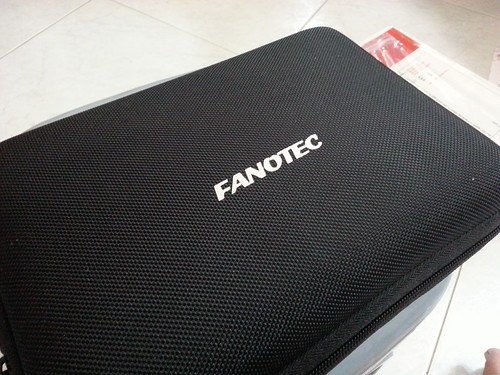
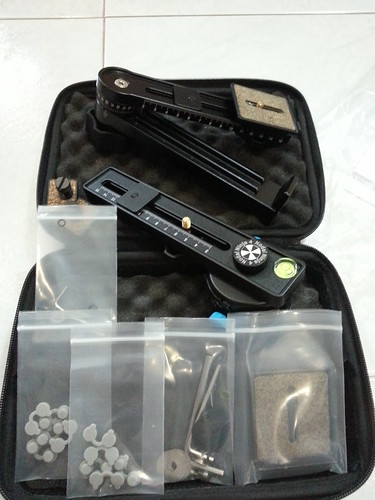
NN4 Package
There os another way to get it ship to Singapore. Either order from them in US, or from KL, Malaysia. (easy, huh?)
But considering that I need the stitching program, PT GUI, I decided to get it from Nodal Ninja official site as they did include the software as a package.
I had been using this rig with my trusted Canon 5D2 and a Samyang 14mm lense. Given the light weight of the camera, NN4 is more than enough. There's no need for the ultimate series, unless you feel like getting it.
The next thing you may want to get is the EZ leveler and the nadir adapter.
EZ leveler II is meant for you to adjust the balance by turning the 3 blue beauitful knobs. The adjustment is so precise that you can get it balance within seconds. Unless you are using ball head triod, you may want to go without this, but you need to be skillful on that.
I hate giving myself pressure and need to get things done within seconds, hence the must equipment.
Next, nadir adapter. This is also another must to get item. If you do not know what is nadir, it is actually preferring to 'bottom'. (I will explain more in detail in the next post, I will skip for now)
For zenith, it is referring to top. So, if you are reading via forum or group online and they were referring about nadir and zenith, you will totally understand what it meant now.
I had been using this rig for the past 6 months and get it on my shoulder through air con, harsh sunlight and rain, it is still working well. I have no regret getting this beast, seriously.
I will talk more on my next post regarding the usage of nadir adapter, lenses and set up.

Wow Looking so good
ReplyDeleteWeb Designer in Bangalore