Showing posts with label commercial photography. Show all posts

Thursday, 5 December 2013

// // Leave a Comment

Photography project - Lian Villas

I am proud to present you my property photo shoot I done for Saville.

Here's the link.

Here's my thought for this beautiful and amazing place.

This private property is definitely a good place to stay at if you like to have neighbor that is close to you. Facing in front is the swimming pool; it look really beautiful when night falls.

You feel so tired after a long hard day at work, after parking your car in the basement, which is in front of the unit. The thought of climbing up the stair to the bedroom is no longer a hassle! There's a lift in the unit! Heh, you need not to worry about carrying heavy things up to the room in future!

I love the area when I was doing the night shoot, the place is very quiet. With the sound of the water gushing down on the pool make my mind feel so relax. You can even do your gym while viewing the pool.

It is really a great place if you love such an environment.

Nevertheless, do enjoy the images I took as well.
Read More

Tuesday, 22 October 2013

// // Leave a Comment

Property photography

Do you have the thought that property photography is easy?

The answer is easy: no.

You may be wondering why would I said that, isn't it just putting your camera on tripod, doing a long shutter speed? And... that's it!


Coordinating and communication is very important.


Before heading down for a photo shoot, it is always advisable for the photographer to go down on site to check out the entire area: whether if there's still touch up, defects or even the painting too. (Though you may do it via photoshop, it is always great to use lesser time during DI stage)

To do an outdoor shoot with the building, you can do it during afternoon and evening time. So that you are able to compare before deciding which image to give to your client.

As an ex project engineer before, I know that coordination is very important. Informing beforehand is a must to let both the client and the on site manager about your whereabouts on site. This is for safety purposes.

If there are workers moving within your frame, get the manager to inform them. It will better for them to go for a break.

Always rem to tell the workers to move their items away as well. This is give you less pain during the DI stage.

If the client gave you the instructions already, do walk around the specific area they want to get the good view/ composition. Call up to your client if there are some major issue not done yet as it may greatly affect your photo shoot day.

If there is a need to, try to communicate with the on site/ project manager on which date you will be doing the shoot. At least this will minimize misleading instruction. End of the day, you just have to inform your client on the date you will be there.

So as you see, this is just the first part before the photo shoot.

Next come to what you should bring.

Personally, I will bring 2-3 type of lenses, zoom, wide and fish eye. End of the day, I only use my prime wide angle lenses to do the shoot. It is wide enough to capture everything. If you have the tilt/ shift wide angle lenses, that will be even better! You will spend lesser time to the correct perspective view.

Do more homework and research via website. Be it you are doing for landed, condo, factory or any type of building, it is good to keep yourself updated for building photo shoot,


I am very happy to complete one major property photography recently, so I decided to share the thoughts with you.

If I am able to get hold of the advertising images, I will definitely post here to share as well.
Read More

Friday, 16 August 2013

// // Leave a Comment

Invitation to Cityblis, the media center for independent designer and fashion updates

Thank you CityBlis for inviting me as a blogger to their site.

Cityblis

This is an interesting media center whereby you can find a lot of independent designers and fashion updates.

I would love to talk to these designers because of my work related - being a photographer. I have always wanted to do a light hearted fashion photo shoot or even video.

If you are a good designer that want to showcase your work, or a model who wanted to gain more experience, feel free dropping me a message. Calling out to models who are in Singapore or Malaysia.

Rather, if you have any idea for a photo shoot, come to my email. I will also put up a video to share throughout as well.

Appreciated.


Read More

Monday, 24 June 2013

// // 1 comment

Panoramic talk #1

Rig I used for panoramic


Panoramic is one of the most interesting photography in my humble opinion.

It is most suitable for landscape photography which allow to cover from extreme left to the right. Other than being a landscape, it can be turn into a 360 x 180 sphere, which allow you to make it as a virtual reality, commonly used for residential, commercial agents and interior designer firm.

Now, it had evolved to retail stores, operation room, restaurant and many more.

It had been created for people who had not been to the location before, and yet wanted to see the place badly.

There you are, a virtual tour.

Now, before I get into this VT (virtual tour, I named that in short form) there are a lot of rules and standard to follow while taking a shot. (it depend on what rig you are on, you may require more than 6 shots for each panoramic view)

The most common rig that people know is: Nodal Ninja.

When you get into the site, you will be confused and not knowing what to get first.

Unless you know your work well, and wanted to get into Google business, you should be getting the Google setup rig.

If not, just follow what I am using now. Of course, I can answer your question if you require any of those.

Right now, I am only concentrating on the introduction for the rig.

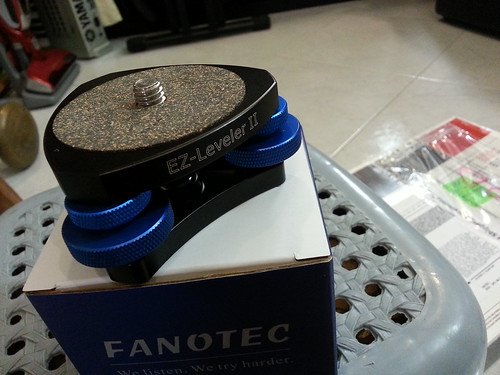
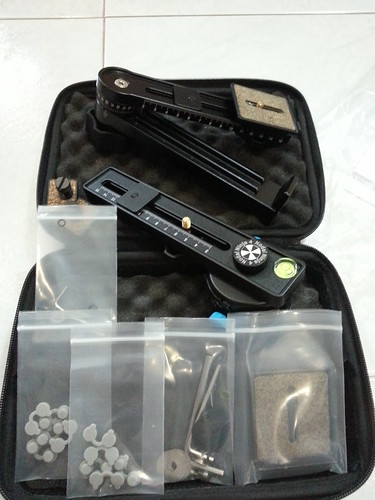
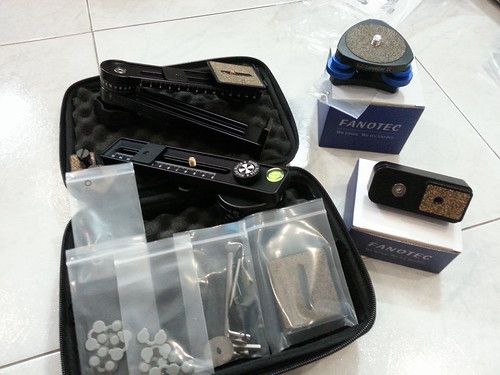
The rig I am using is Nodal Ninja 4, known as NN4, with a RD16 and a EZ-leveler II.


Nodal Ninja
EZ Leveler II

Nodal Ninja
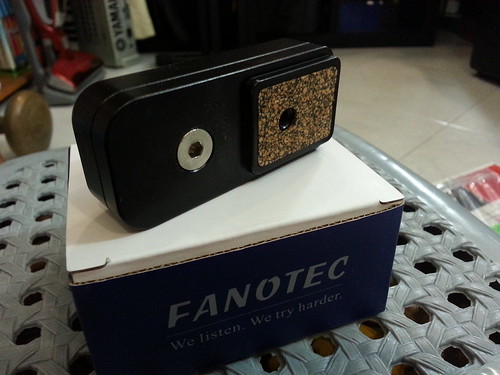
Nadir adapter

Nodal Ninja

Nodal Ninja
NN4 Package

Nodal Ninja

There os another way to get it ship to Singapore. Either order from them in US, or from KL, Malaysia. (easy, huh?)

But considering that I need the stitching program, PT GUI, I decided to get it from Nodal Ninja official site as they did include the software as a package. 

I had been using this rig with my trusted Canon 5D2 and a Samyang 14mm lense. Given the light weight of the camera, NN4 is more than enough. There's no need for the ultimate series, unless you feel like getting it.

The next thing you may want to get is the EZ leveler and the nadir adapter.

EZ leveler II is meant for you to adjust the balance by turning the 3 blue beauitful knobs. The adjustment is so precise that you can get it balance within seconds. Unless you are using ball head triod, you may want to go without this, but you need to be skillful on that.

I hate giving myself pressure and need to get things done within seconds, hence the must equipment.

Next, nadir adapter. This is also another must to get item. If you do not know what is nadir, it is actually preferring to 'bottom'. (I will explain more in detail in the next post, I will skip for now)

For zenith, it is referring to top. So, if you are reading via forum or group online and they were referring about nadir and zenith, you will totally understand what it meant now.

I had been using this rig for the past 6 months and get it on my shoulder through air con, harsh sunlight and rain, it is still working well. I have no regret getting this beast, seriously.

I will talk more on my next post regarding the usage of nadir adapter, lenses and set up.
Read More

Friday, 3 May 2013

// // Leave a Comment

Why I prefer Photomatrix HDR

One of the project I was commissioned require HDR merging. Hence, after some trials, I decided which to get.

There are quite a lot of HDR programs if you really do some searching via internet.

One of the most popular will be photomatrix.

Nik software , is one of the coolest program I had tried recently.

I used these software and did some comparison. To my shocking, as shown below, there is a bad burnt out from Nik HDR Efx, but the brightness and tone seem very nice to me.

HDR Comparison

Considering the post processing part, I will face a lot of difficulties if I were to DI that burnt area. I work as a full time photographer, I simply do not like to spend too much time doing just one area (this is just one minor area that I am showing you)

Hence, I decided to go for Photomatrix instead. The color temperature and tone can be adjusted using Adobe Photoshop.

My HDR does not end at 3 exposure. Instead, I use 10 ev in order to get the details out from the image.

Currently, my project is related with 360 view panoramic, aka virtual tour. So, there are quite a number of stitching I need to do, but before even starting on that, I need to merge the 10 ev exposure first.

For my panoramic setting, which I will do a full details later, I have a total of 14 points of 10 ev each to merge first. Yes, 140 images for just one location.

In comparison of the speed for these two software, Photomatrix win by thousand times.

All I need to do is just the initial set up -

Import 10 images in, do the setting that I want to achieve, then save the preset.

Next, I will go for batch processing of processing photos under Batch Bracketed Photos

Remember I told you that I have a total of 10 ev for each view? Yes, just tell Photomatrix the exact location, select 10 images at a time

Remember to select the preset you had saved at the start.

As shown below, follow the numbering and you will be ok.


Once the images start to run, you can simply go have a short nap, read your novel with a cup of nice coffee, or even go out! It will take ages to get it done automatically for you.

Bear in mind, I have thousands images to merge! That's why it take hours.
But, it is a lot faster than using Nik.

I open Nik software via Adobe Bridge to Photoshop. I have to import 10 images at one time, get the preset done, then I save it. During the processing duration, I can wait till I literally fall asleep. I do not know whether if there's batch processing for Nik, but I gave up trying.

Now, this is not efficient for me.

That's why I find batch processing is very important to most projects! Especially when you have a lot to do and time is very crucial.


I am glad that Photomatrix work perfectly fine for me.


Discount coupon to search for 


Oh yes, before I forget. Remember to check out for discount coupon when you want to purchase photo matrix.  A little bit of research does helps.

Photomatrix purchase site

Here's some of it I found online for you, remember to check whether it is valid before purchasing it!

Please read the link given in this blog. I do not hold any responsibilities if you purchase wrongly.


Stuck in Customs - Code: STUCKINCUSTOMS
Visual Photo Guide - Code: HOTSHOTPHOTO 
Captain Kimo - Code: CAPTAIN KIMO
HDRIT - Code: HDRIT

Have fun with the program and shoot more! =)
Read More

Monday, 15 April 2013

// // Leave a Comment

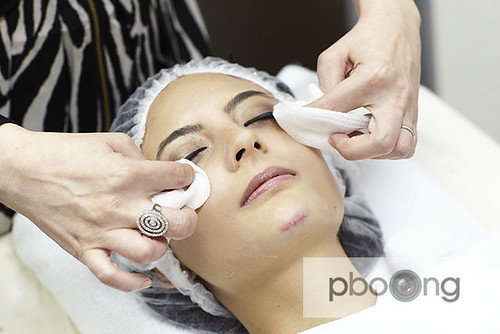
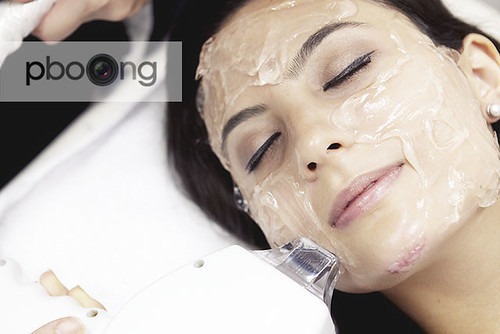
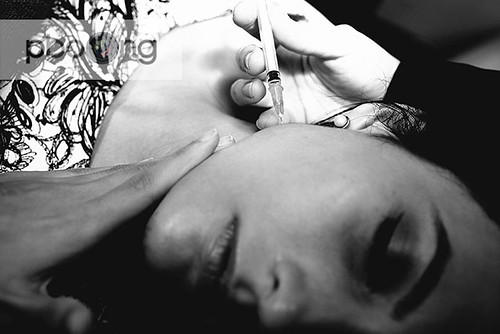
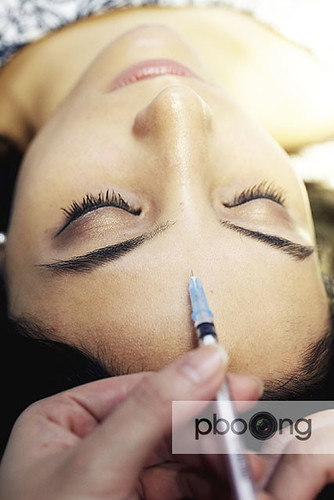
PPP dermatology laser clinic coffeetable book

I am please to present you my latest work for a coffetable book for PPP laser clinic by Dr Goh Seng Heng.

The planning for this photo shoot is pretty rush and took half a day to accomplish it for day 1.

It wasn't a simple job because of some lighting issue, and it is nearly impossible to bring your strobe light in a small tiny room. Moreover, the room is always pack with their customers.

Be thankful that Canon camera is able to take up low noise at high ISO.

I also bring my small video light for the shoot. This is very useful and handy if you do not intend to use any strobe light or so.

Furthermore, this video light is not heavy and very affordable as well.

This assignment were taken in 2 days, and 1 day in my house for the product shoot.

The main focus for the shoot is the facial, skin and the equipment used in the clinic - Dermatology.


All thanks I am a self trained wedding photographer, this photo shoot make it a lot easier for me. Last minute changes, changes of weird lighting, and journalistic style photo shoot.

Do get yourself involved with event photography first. I believe this will help you a lot when environment kept changing.


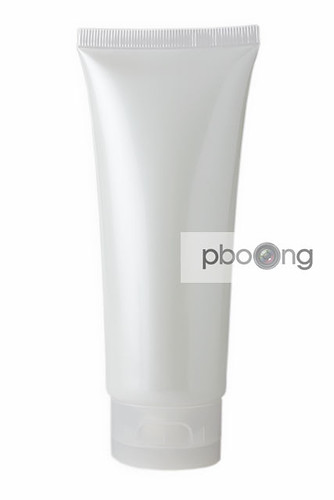
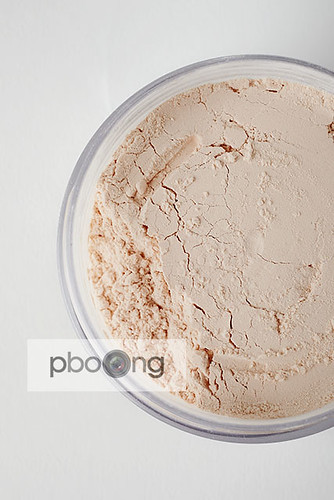
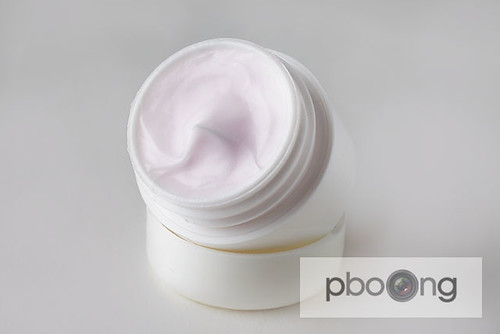
PPP Coffee Table Book

PPP Coffee Table Book

PPP Coffee Table Book

PPP Coffee Table Book

PPP Coffee Table Book

PPP Coffee Table Book

PPP Coffee Table Book

PPP Coffee Table Book

All images are copyrighted to pboong photography and PPP laser clinic
Read More

Monday, 29 October 2012

// // Leave a Comment

Project - Music School Advert

I was glad that I am given an opportunity to shoot an advertisement for a music school - Edvox Music School.

As I do not have a make up artist with me, my then gf, now wife, will be helping me on the make up. For this photo shoot, we had the equipment set up in the music classroom.

Like I mentioned before, I am using 2 x 300w Jinbei strobe with battery operated - firing with S3Pro.
The background is actually a Muslin cloth which I got it real cheap from someone else.

I am happy I learn some workflow from the studio back then. Having the camera tethering to Mac using Capture One Pro. Hence the jumping of ship - from Fujifilm to Canon system.

All talents in the photo shoot are the students in the school, and we have great fun together.

As they have 0 experience on photo shoot, I need to guide them proper on what I am expecting. Patience is the key word to everything.

DSCF0233 copy.JPG


DSCF0257 copy.JPG

DSCF0259 copy.JPG

DSCF0290 copy.JPG

DSCF0306 copy.JPG

DSCF0314 copy.JPG

DSCF0331 copy.JPG

DSCF0355 copy.JPG

DSCF0444 copy.JPG

DSCF0438A copy.JPG

I am very happy seeing my work printed out on brochures, magazine, name cards and their calender. That's when I know what I want to do in future.

Hope you like the photo shoot I did years ago.
Read More